How to Paint Stylized Mermaid Cartoons
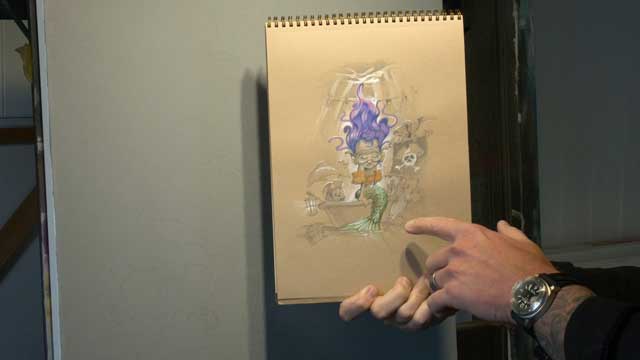
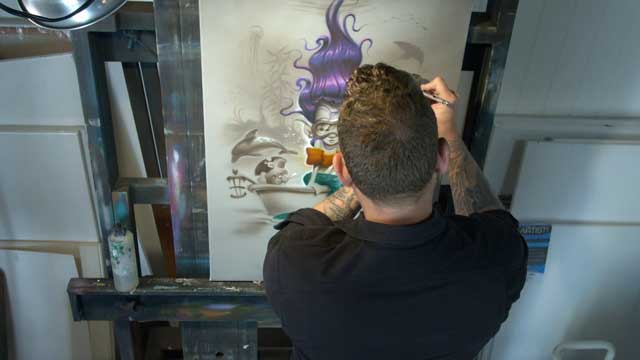
In this first video I will be revealing how I choose imagery to tell the best story. I will explain my approach to which steps to do and the correct order so that you paint as efficient as possible. I don’t want you to waste much time when you paint.
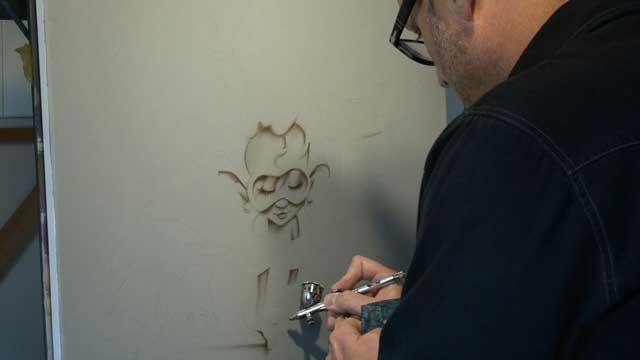
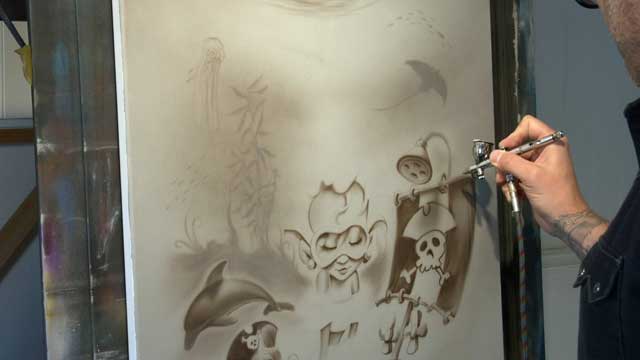
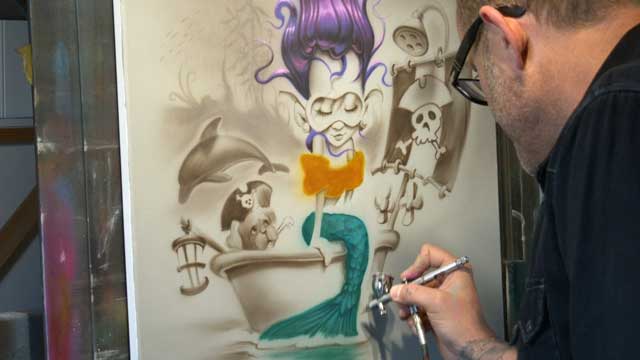
Each painting starts with a roadmap. My first pass of color will leverage the basecoat. The basecoat color can speed up your realism and time spent being used as the main mid-tone.
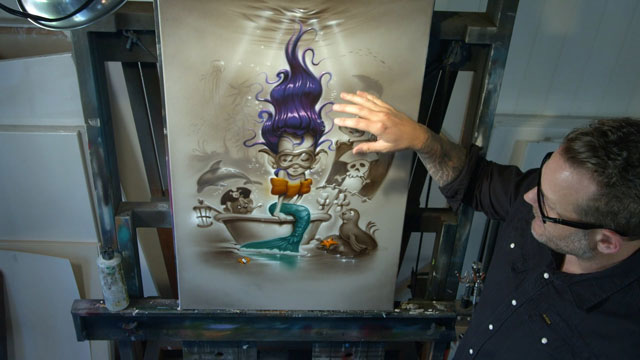
You can create awesome underwater effects using the proper contrast and lighting effects. The airbrush is one of the most powerful tools to properly bring out sun rays and bubbles in the ocean.
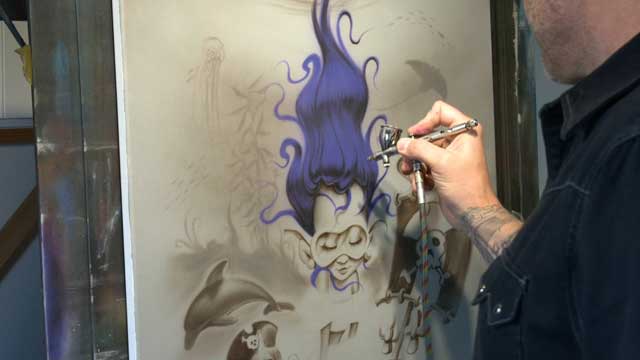
Using my three-step approach to color layering, I will reveal the most effective way to use color to bring out a wavey and flowing hair that appears to be controlled by the ocean.
Similar to the hair, I will approach a layering of dark to light layering that will bring out dimension and roundness to the tail. My goal is to help you achieve weight and roundness
The final details can make or break the final image. If you over-do the highlights the image can appear forced, fake or cookie color.
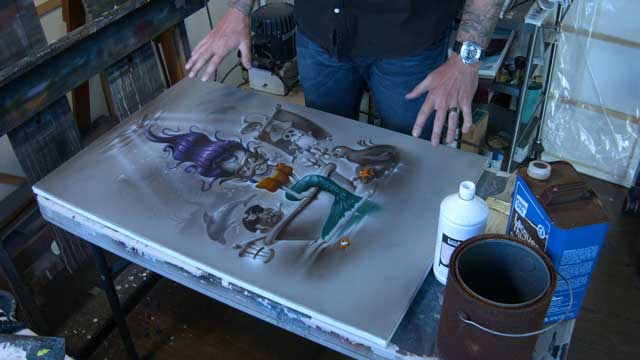
Most artists get overwhelmed and nervous about this step in preserving their final work. In this video, I will show you my step by step process of varnishing my canvas, when to scan/photograph
In the last video I will review our project from start to finish. Whether you are a beginner or advanced, this project will give you the essential wisdom to execute in your own painting skills.
